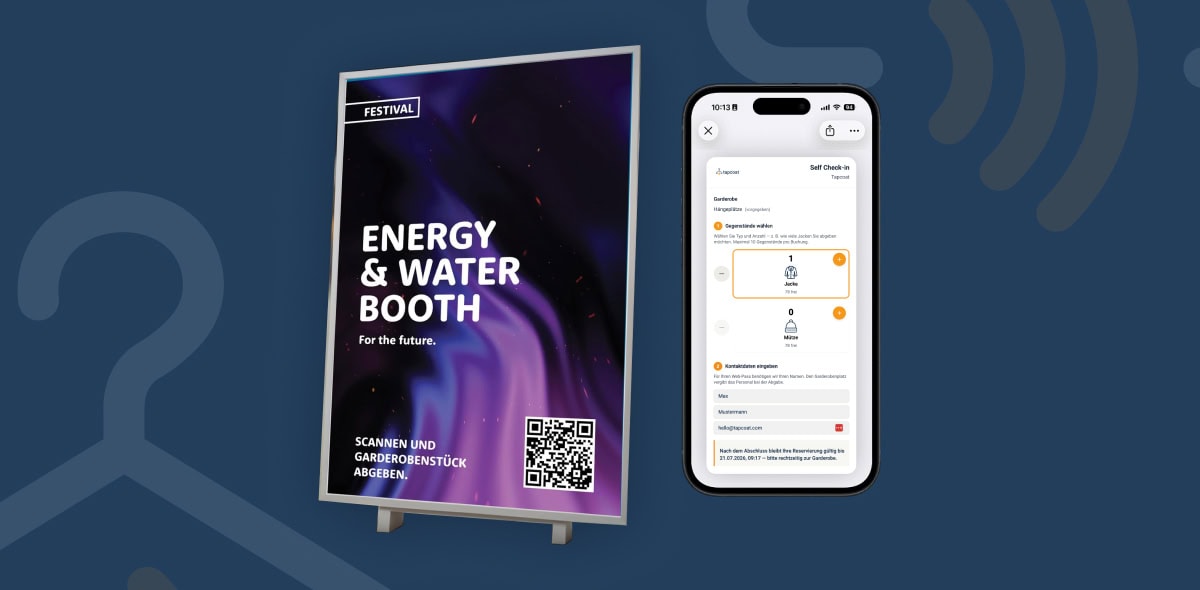


Set up QR code check-in with ease
QR code check-in is the default method in Tapcoat and the right choice for most venues and events. It works without special hardware — any smartphone with a camera is ready to go right away.
How QR code check-in works
With QR check-in, each guest is identified by a unique QR code. This code can come from two sources:
Option A: Tapcoat’s own QR code
Tapcoat generates a QR code that the guest scans with their smartphone. Here is the process in the app, step by step:
- Staff select the “Check-in” section in the app.
- They enter the number and type of items being dropped off — for example 1 jacket.
- The app shows a QR code on the display.
- The guest scans this code with their smartphone — or does so directly on the tablet in kiosk mode.
- The guest instantly receives a digital cloakroom pass in their wallet app — with the assigned hanger location number as a security confirmation.
- The hanger location number appears in large type on the staff device — for example “03A” — so the item can be assigned right away.
Option B: External QR code
If you enabled “External tickets / QR codes” when creating the event, you use existing codes — for example from event tickets (Eventim, Reservix), concert tickets, trade show badges, or entry wristbands. Staff scan the guest’s external code directly. The guest doesn’t have to do or show anything. This option is especially fast because it adds no extra step for the guest.
Important: The choice between an internal and an external QR code is set under “Identifier” when you create the event and cannot be changed afterward. So decide which method you want to use before you create the event.
Kiosk mode: guests scan on their own
In kiosk mode on the tablet, guests can scan the QR code on their own. The tablet shows a simplified guest view with an optional 3-step guide and organizer branding. Staff work in parallel on the smartphone: they enter the number of items while the guest scans their code on the tablet screen. The two actions complement each other.
What the guest sees after check-in
After a successful check-in, the guest automatically receives a personalized landing page with:
- The digital cloakroom pass to save in Apple Wallet or Google Wallet
- Their assigned hanger location number as a security confirmation
- Optional event content: logo, branding, information, and a payment page for paid cloakrooms
The landing page can be fully designed in the corporate design of the organizer or venue. For details, see the article “Customizing branding & landing page”.
No app download for guests
Guests don’t need an app of their own. Apple Wallet and Google Wallet come preinstalled on virtually all modern smartphones. The guest taps “Add to Wallet” — done. At pickup, they show the pass, staff scan the QR code on the pass, and checkout is complete in seconds.